
You spent hundreds of dollars on fancy baking equipment and high-quality, organic ingredients from the brand-new Whole Foods that opened down the block; you did hours of research into recipes and watched countless YouTube videos on how to make the perfect macarons; and you followed every step to the letter — only to find that yours turned out too flat, too chewy, too uneven, too hollow, too cracked or too grainy.
What did you do wrong? And, what could you have done differently to ensure the perfect macarons? Well, my friend, it seems like your luck has just turned. Keep on reading to uncover the secrets to these finicky little cookies. No more unpredictable macarons… not on my watch!

Basic Recipe
Ingredients:
Macaron shells (yields enough for 30 cookies)
- 1 ¾ cups powdered sugar
- 1 cup almond flour, finely ground
- Two pinches of salt, divided
- 3 egg whites, at room temperature
- ¼ cup granulated sugar
- ½ teaspoon vanilla or other extract (See Variations below)
- 2 drops gel food coloring of your choice (See Variations below)
- Filling of your choice: Choose this based on your macaron flavor. I usually make honey French buttercream with the remaining 3 egg yolks. For a fun twist, use ice cream as your filling!

Instructions:
Macaron Shells
- At least an hour in advance of baking, leave 3 eggs out on the counter to bring to room temperature. Also in advance, Google macaron piping template and print enough sheets to line the baking sheet you’d like to use. I usually need two that I overlap.
- Begin baking: Combine 1 ¾ cups powdered sugar, 1 cup almond flour, and a pinch of salt and run through a food processor on low speed, until extra fine. Sift the dry mixture through a fine-mesh sieve into a large bowl. If you have a small food processor, you will have to do this in batches. It’s a bit of a pain, but worth it if you want the perfect cookies.
- In another large bowl, beat 3 egg whites and a pinch of salt with an electric mixer until soft peaks form. Gradually add ¼ cup granulated sugar and beat until fully incorporated. Continue to beat until stiff peaks form. You’ll know when you’re done when you can turn the bowl upside down without anything falling out. This is not for the faint of heart!
- Add ½ teaspoon vanilla or extract of your choosing and beat until incorporated. Add 2 drops gel food coloring of your choice and beat until just combined.
- Add ⅓ of the dry ingredients at a time to the wet ingredients and use a spatula to gently fold until combined. After the last addition of dry ingredients, continue to fold slowly until the batter falls into ribbons. I usually scrape the sides of the bowl with the batter a bit while folding to get some more air out and reach the right consistency.
- Transfer the macaron batter into a piping bag or piping gun fitted with a round tip. Brace yourself for a little bit of a messy step.
- Place your printed templates on a rimmed baking sheet and cover it with parchment paper. Place 4 dots of the batter in each corner under the parchment paper to adhere it to the baking sheet.
- Work as fast as you can: Pipe the macarons onto the parchment paper according to your template or in 1½-inch (3-cm) circles, spacing at least 1 inch (2 cm) apart, if not using a template.
- Tap the baking sheet on a flat surface a few times to release any air bubbles. If you have a cat, he will be very scared of this step.
- Let the macarons sit at room temperature for 30 minutes to 1 hour. They form a kind of skin on top of them that when touched, leaves your finger dry.
- While you wait for the skin to form, preheat the oven to 300˚F (150˚C).
- Bake the macarons for 15-18 minutes (I usually stop at 17 minutes), until the feet are well-risen and the macarons easily come off the parchment paper.
- Transfer the macarons to a wire rack to cool completely, and then fill.
- To fill, take one shell, pipe filling onto it, then cover with another shell to make a macaron sandwich.
- Eat at least one macaron to celebrate what you have just accomplished. If there are other people with you, feed them each one macaron and let them compliment your baking skills.
- Place the remaining macarons in an airtight container for 24 hours to “bloom.” Evidently, they taste better the next day.
- Continue to enjoy!
Variations
Macarons can be made in a variety of flavors. My favorites are:
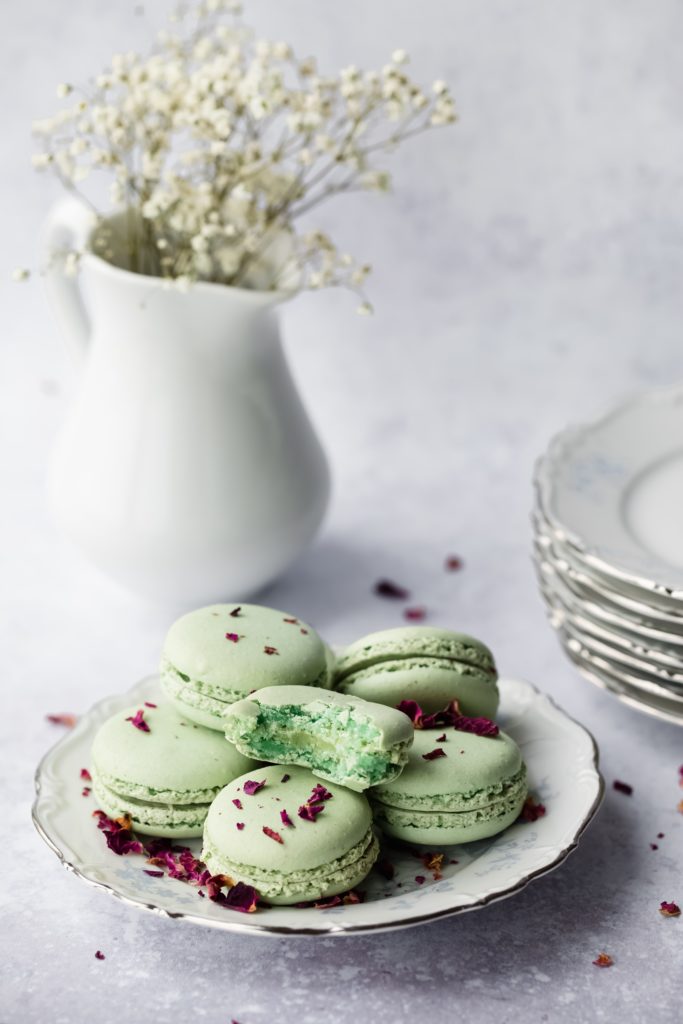
- Rose flavored (using Persian rosewater), which goes so well with the honey buttercream. I use pink food coloring for these.
- Coffee flavored ones with nutella whipped cream filling, which are divine.
In order to flavor your macaron, simply add a few drops of the extract of your choosing and corresponding food gel coloring to the batter before adding in the dry ingredients.
Important Tips
- Leave the eggs out for an hour before starting. It’s imperative that your eggs be room temperature. This is a good practice in general when it comes to baking.
- Make sure the bowls and sifter you’re using for your dry ingredients are not wet or even slightly damp. That will cause a lot of problems for you. Trust me, as I’m speaking from experience.
- You may be tempted to skip the step of running the dry ingredients through a food processor. Don’t give in to temptation! You can’t have clumpy almond flour in smooth macarons; that’s just common sense, yo.
- Don’t underbeat or overbeat your egg whites. As soon as stiff peaks form that don’t melt back into the liquid after a few seconds, you should be good. Do the flip test to make sure nothing runs out of the bowl to double check.
- You may have heard me say to use liquid food coloring when I said to use gel food coloring. I definitely meant gel food coloring. The liquid kind will make your batter unpredictable and won’t create as vibrant of a color. Also, don’t freak out if the color is too vibrant after you add the coloring. The cookies will bake to a shade or two lighter.
- Don’t overcrowd your baking sheet when piping the batter into circles. This may mean using multiple baking sheets over a longer period of time, but you’ll be happy you did so in the end when you have a perfect batch of 30 cookies.
- Definitely leave the macarons out on the counter for at least half an hour before baking. They need to develop that dry skin on the top in order to yield the perfect balance of crispy and chewy.
- I won’t tell you not to eat them right away, because I’m not a hypocrite. I don’t have the patience for that myself, but when I try the leftovers the next day, I can tell they’re much better after 24 hours. You do you, girlfriend!
- If something goes wrong, which I know is frustrating, try to remember that it’s the process of creativity that’s important, not so much the end result. This is true for all baking, cooking, or anything else creative!
- Ugly and misshapen macarons are still forking delicious, so enjoy them and try again later if you’re striving for the perfect-looking macarons!

I miss your delicious macarons so much! Thanks for sharing! ❤️
Come back soon so I can make you more!